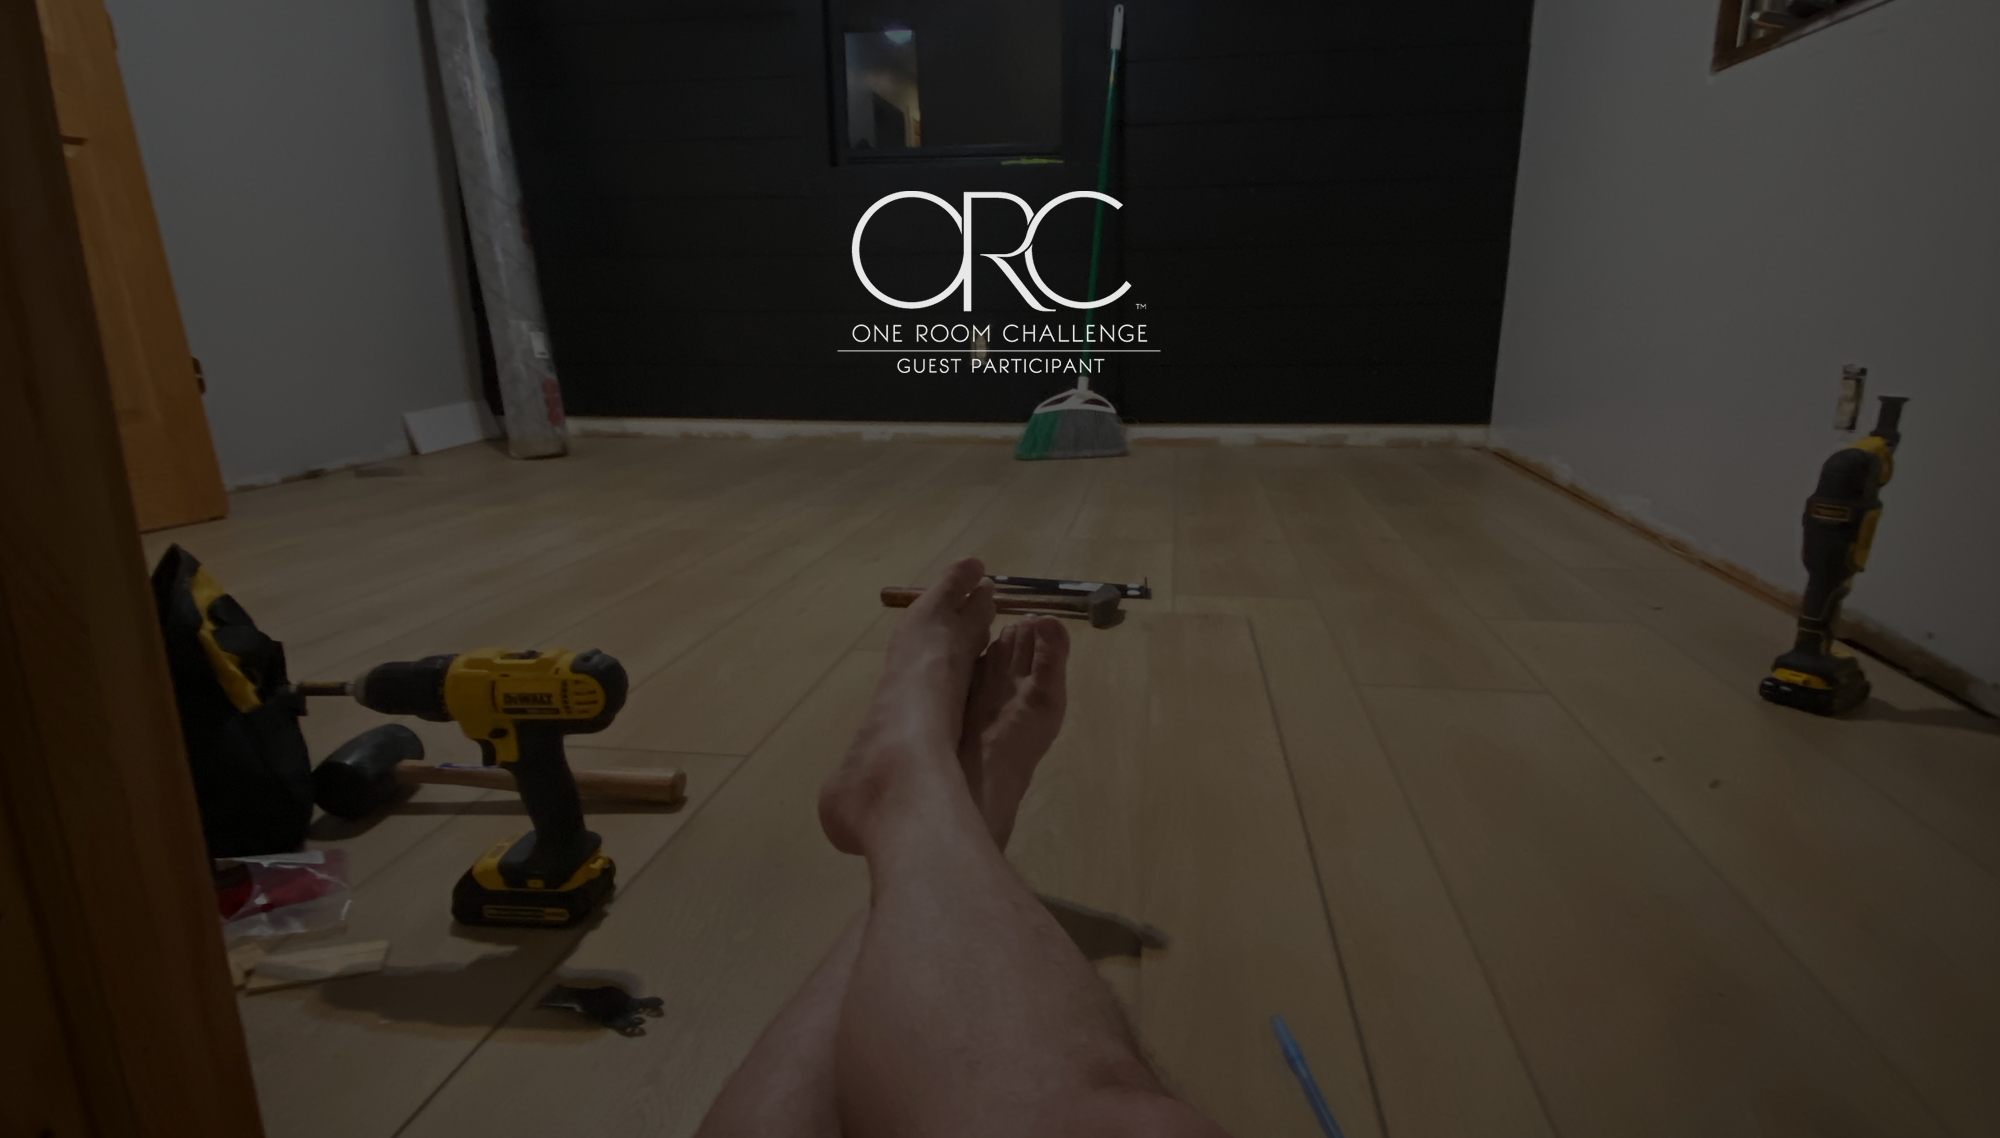
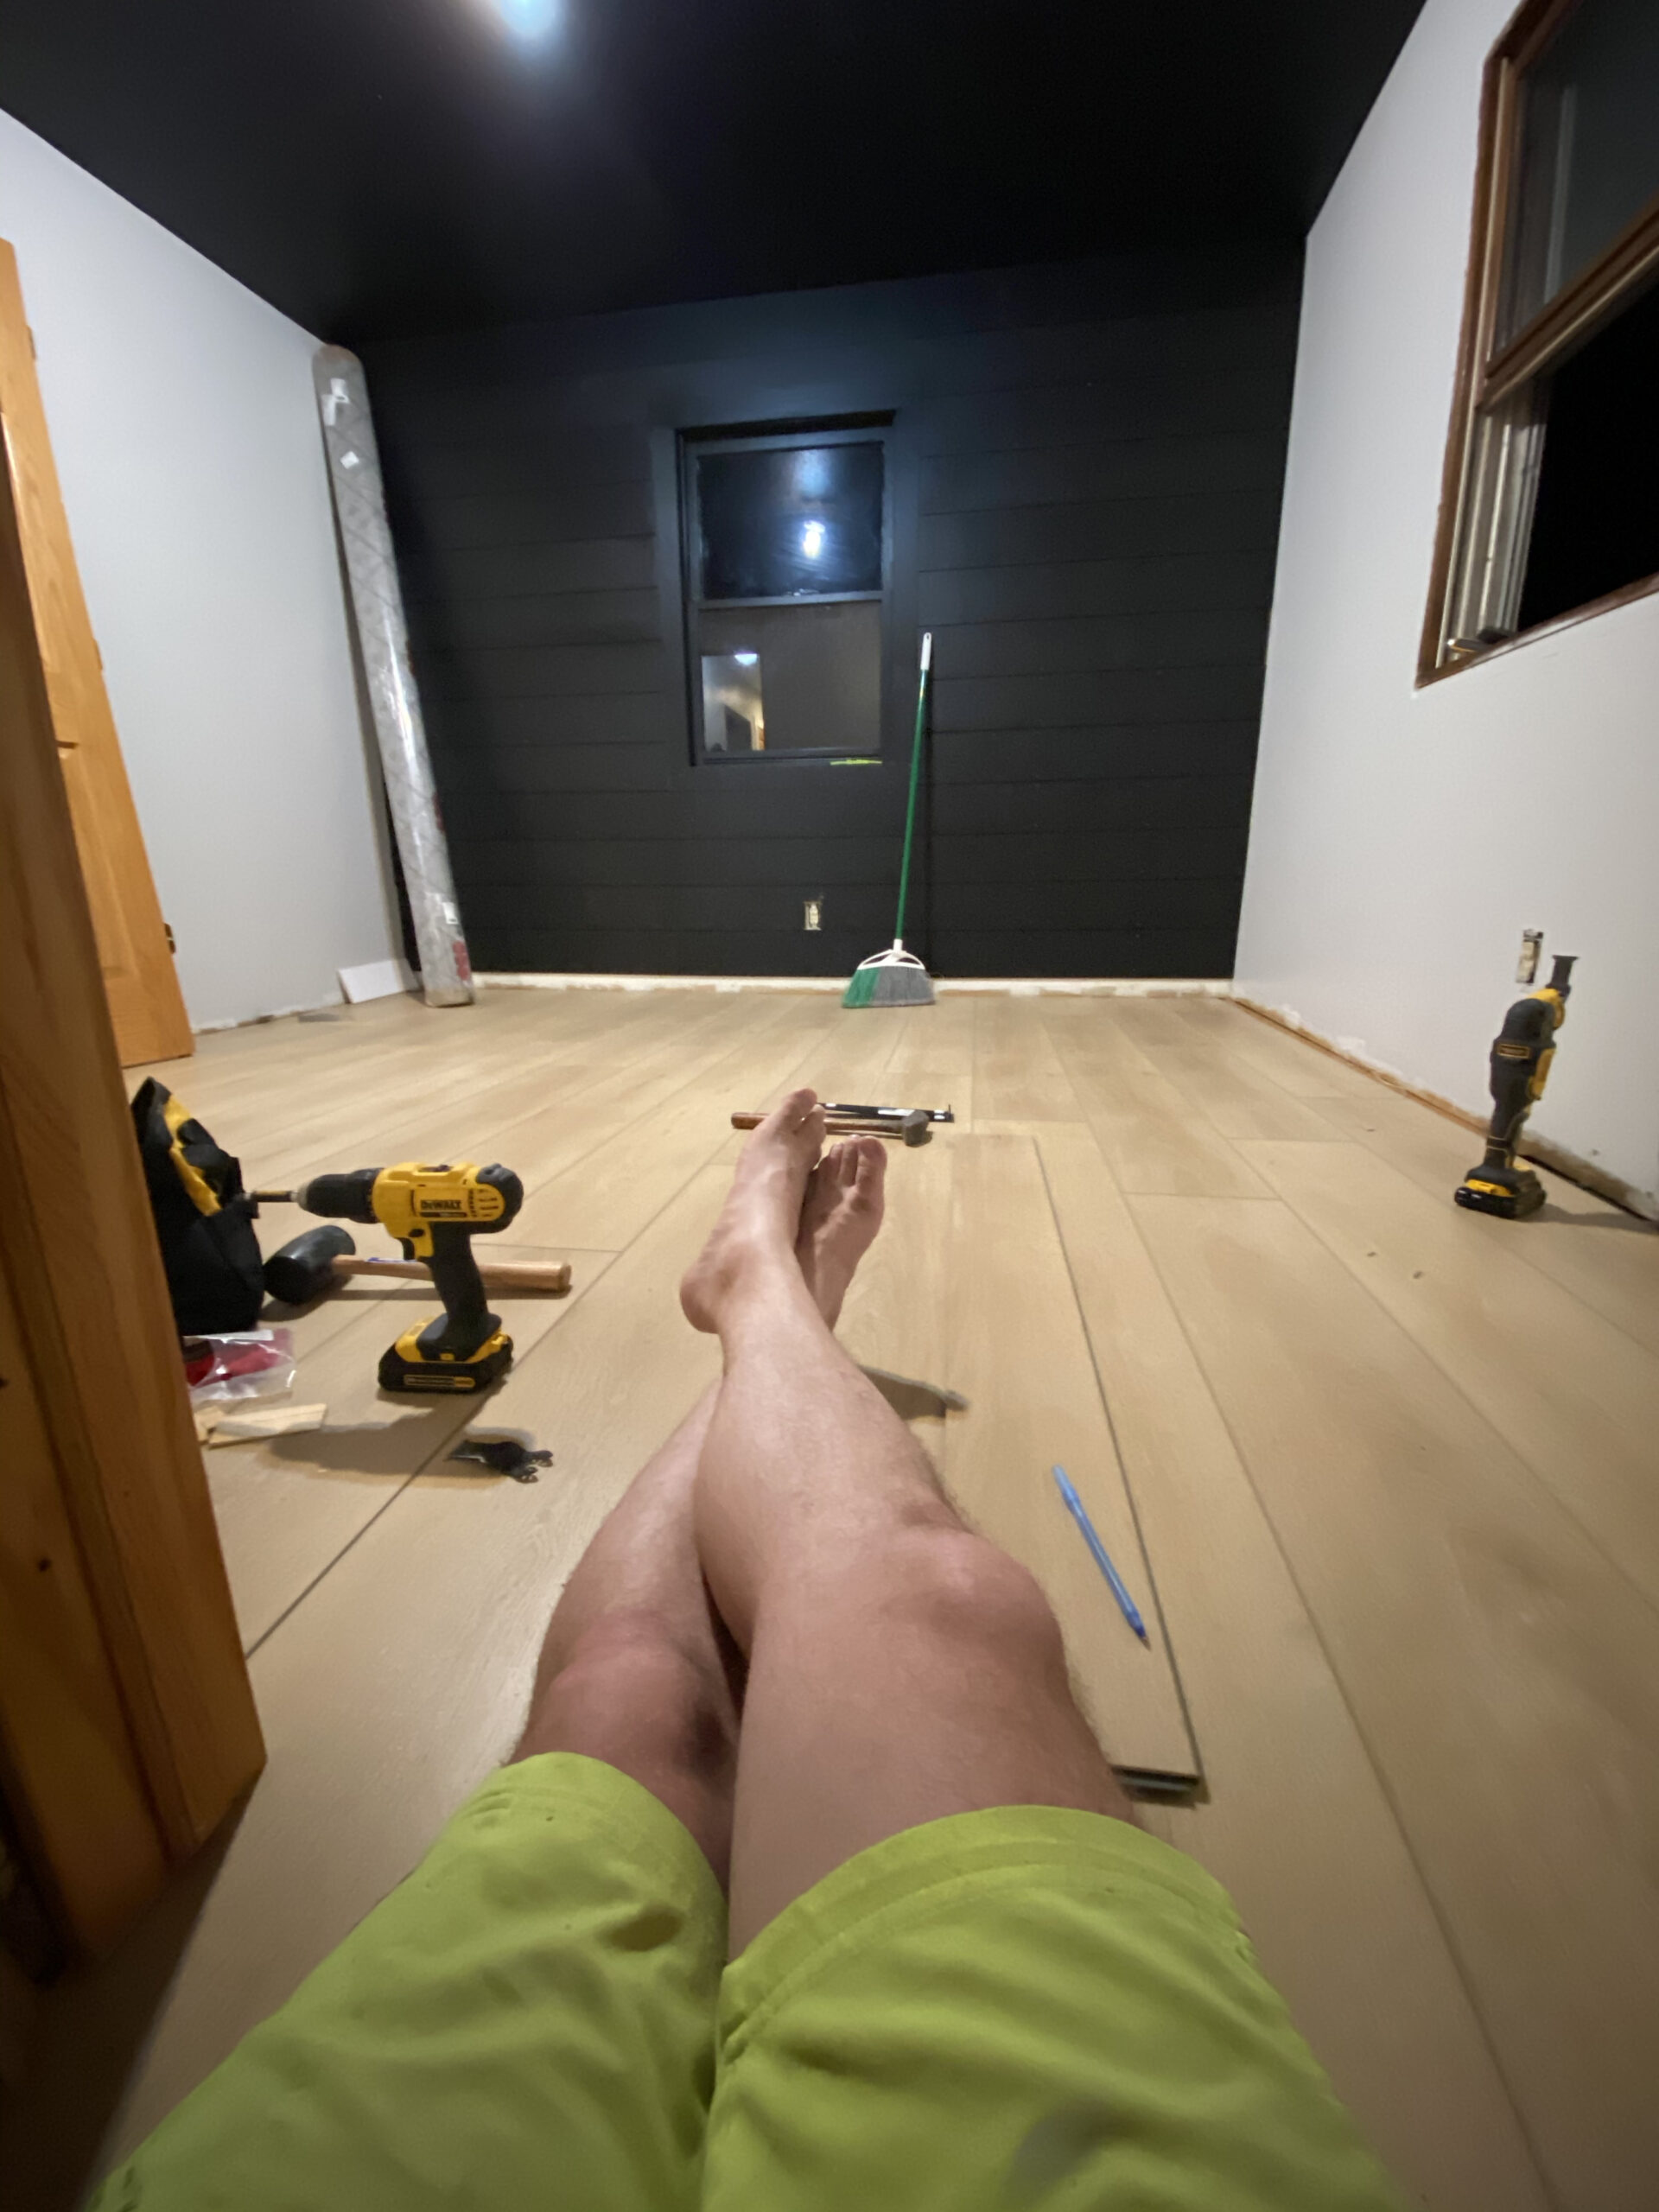
Week three of the One Room Challenge presented by Better Homes and Gardens is here and this week I’m turning up the volume a bit. I say that its time to see some real progress … the shiplap feature wall is going up and luxury vinyl plank (LVP) floors are going down!
Before we dive in, don’t forget to head over to the ORC blog page, and check out all the featured and guest participants progress this week. We’re coming up on the half-way point, and some of these rooms are jaw dropping already!
Recap: Paint is Powerfull
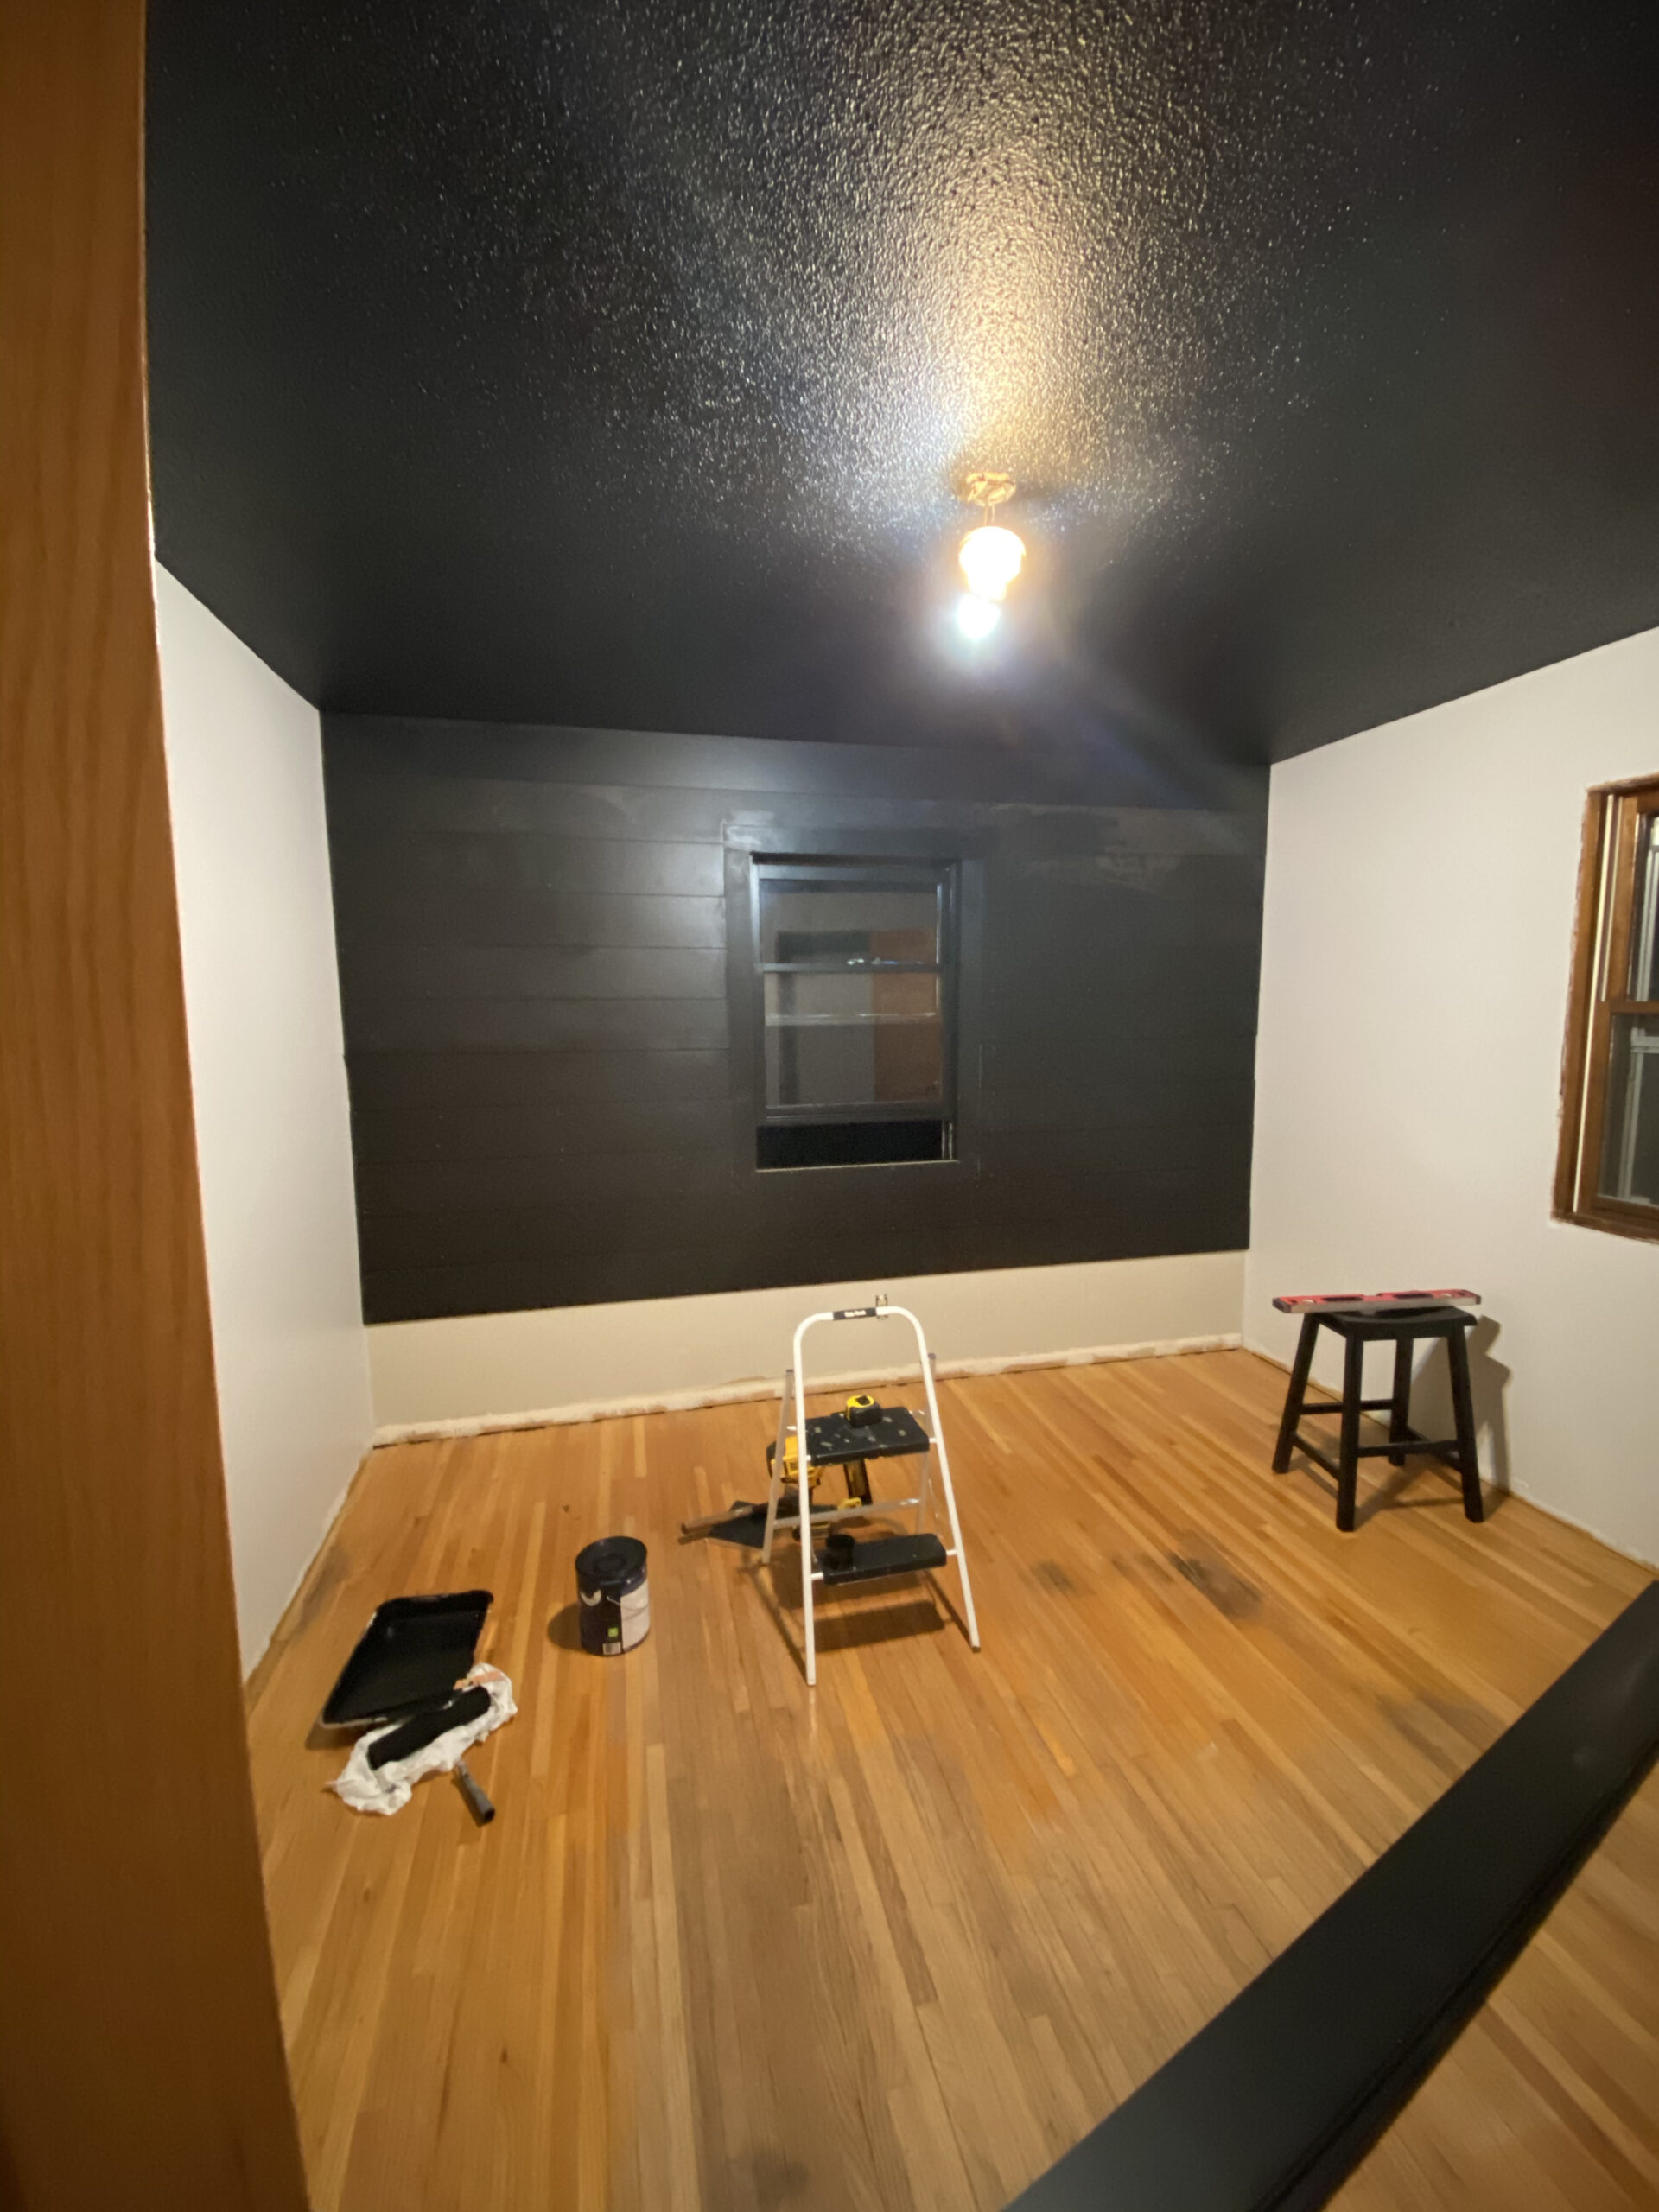
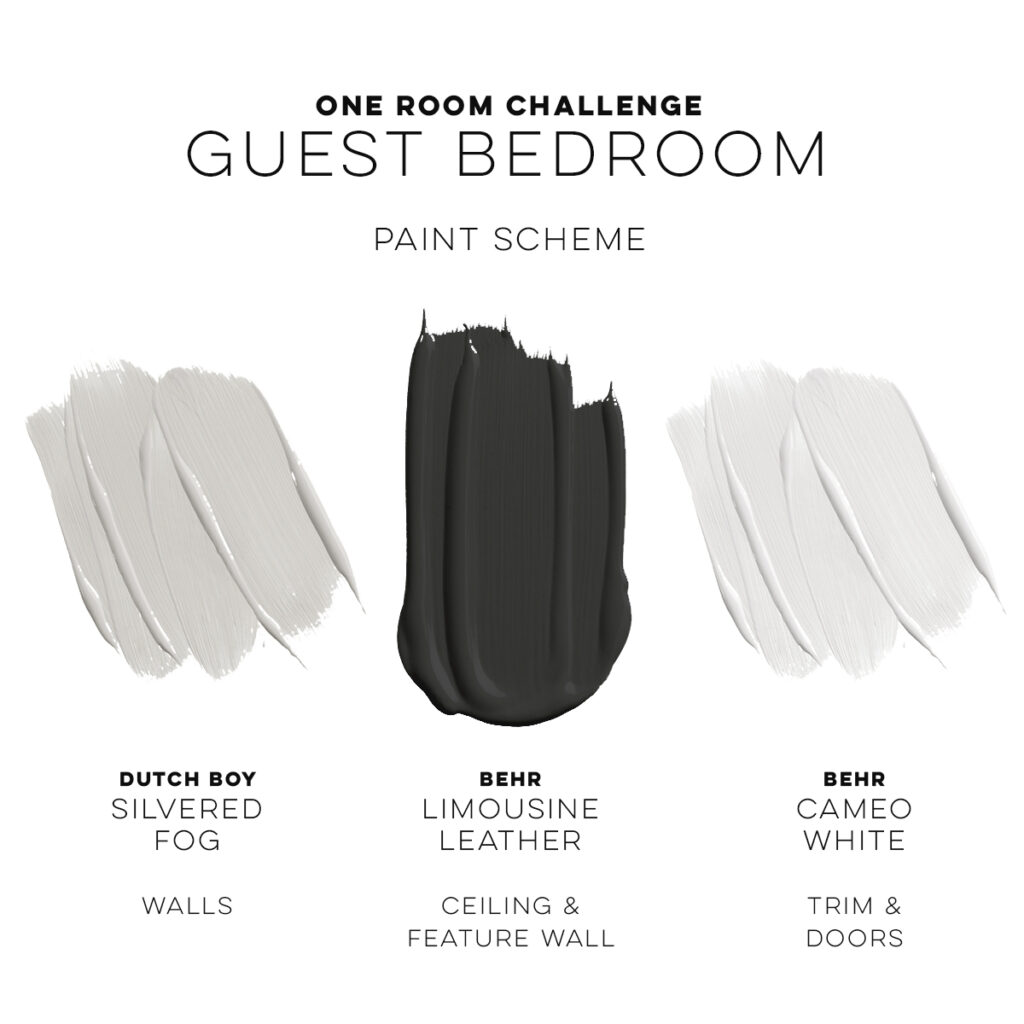
Last week, I showed you the paint scheme for this room, so you got to see the beginning of the drama I’m trying to inject into the guest bedroom through color. The contrast of the Behr Limousine Leather painted ceiling and the calming greige of Dutch Boy Silvered Fog on the walls is a mood that I am here for. I’m far from done painting … but you could already see the power of paint. That is for sure!
Shiplap Feature Wall
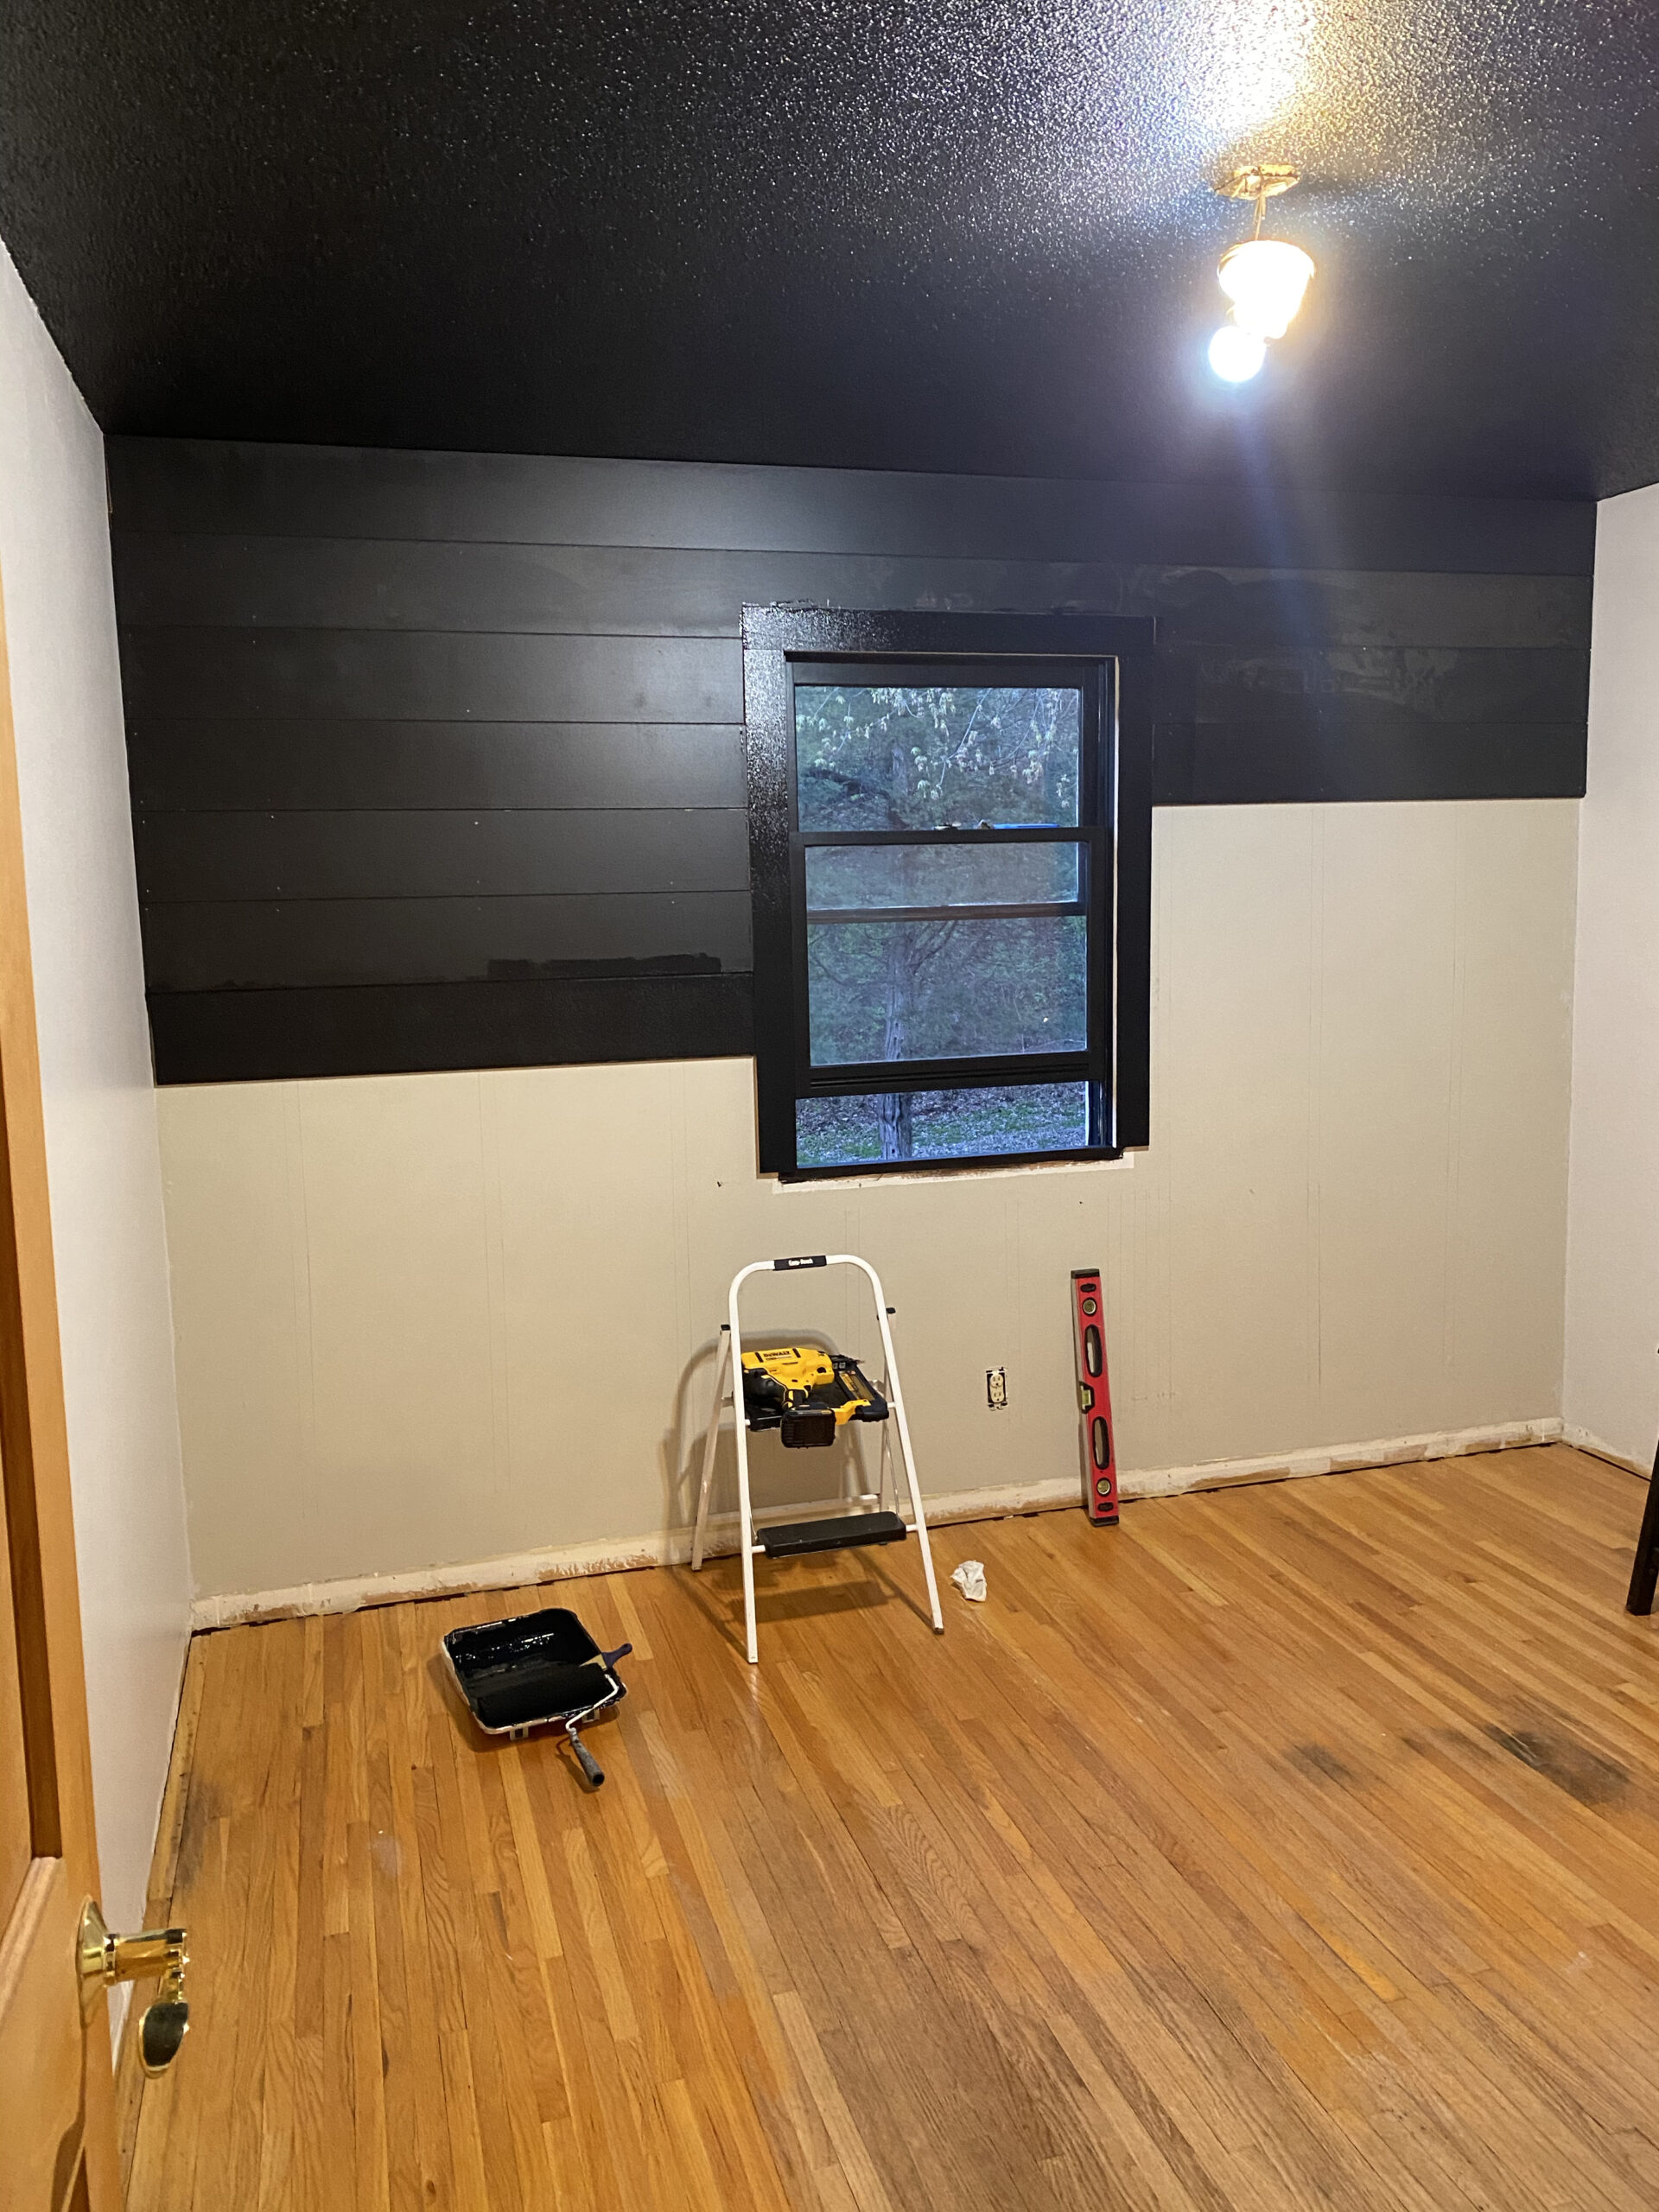
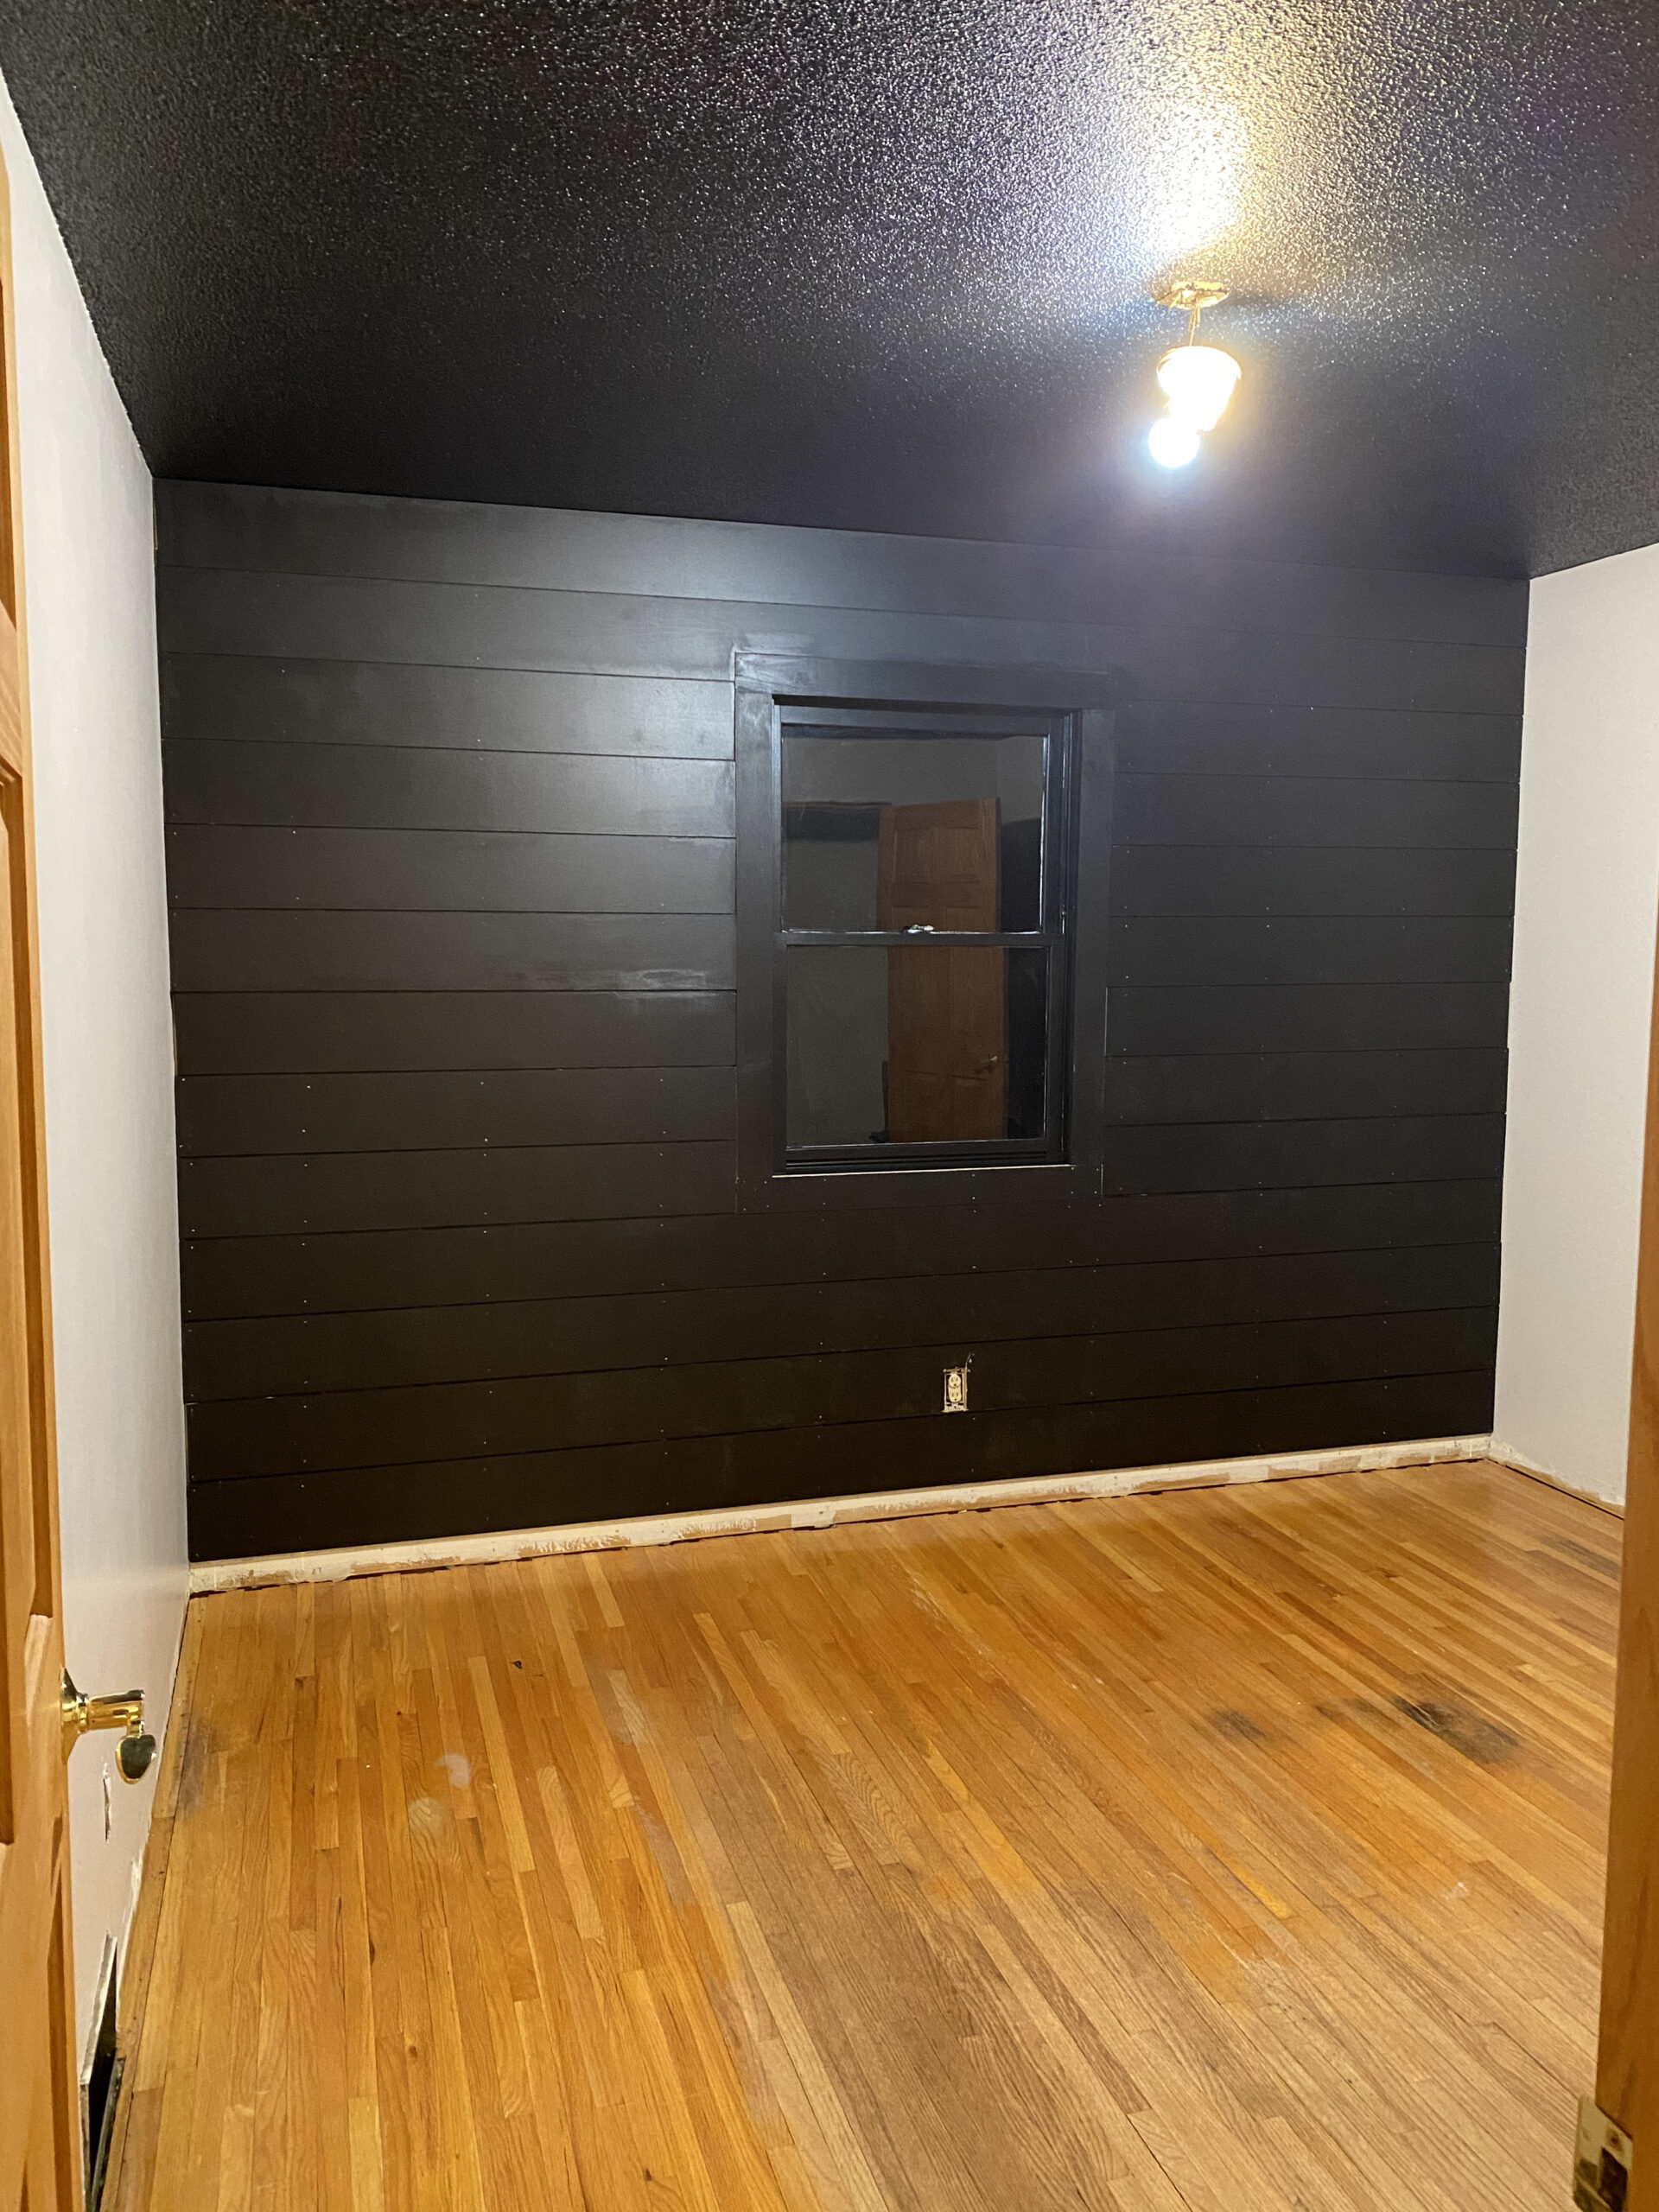
I’ve said it before, but I have been dreaming of a black shiplap wall since I purchased this house six years ago. This is actually the third shiplap wall I’ve done, but for some reason this one really feels like the time to go bold with my favorite black paint, Behr Limousine Leather.
I wanted to make sure that the planks went wall to wall (from the window to the wall). To create the seamless shiplap look, I used 12-foot 1″x8″ nickel-gap shiplap MDF boards. I do prefer actual wood to MDF, but the only 12′ shiplap available was the MDF, and since I knew that it was going to be painted MDF is perfect!
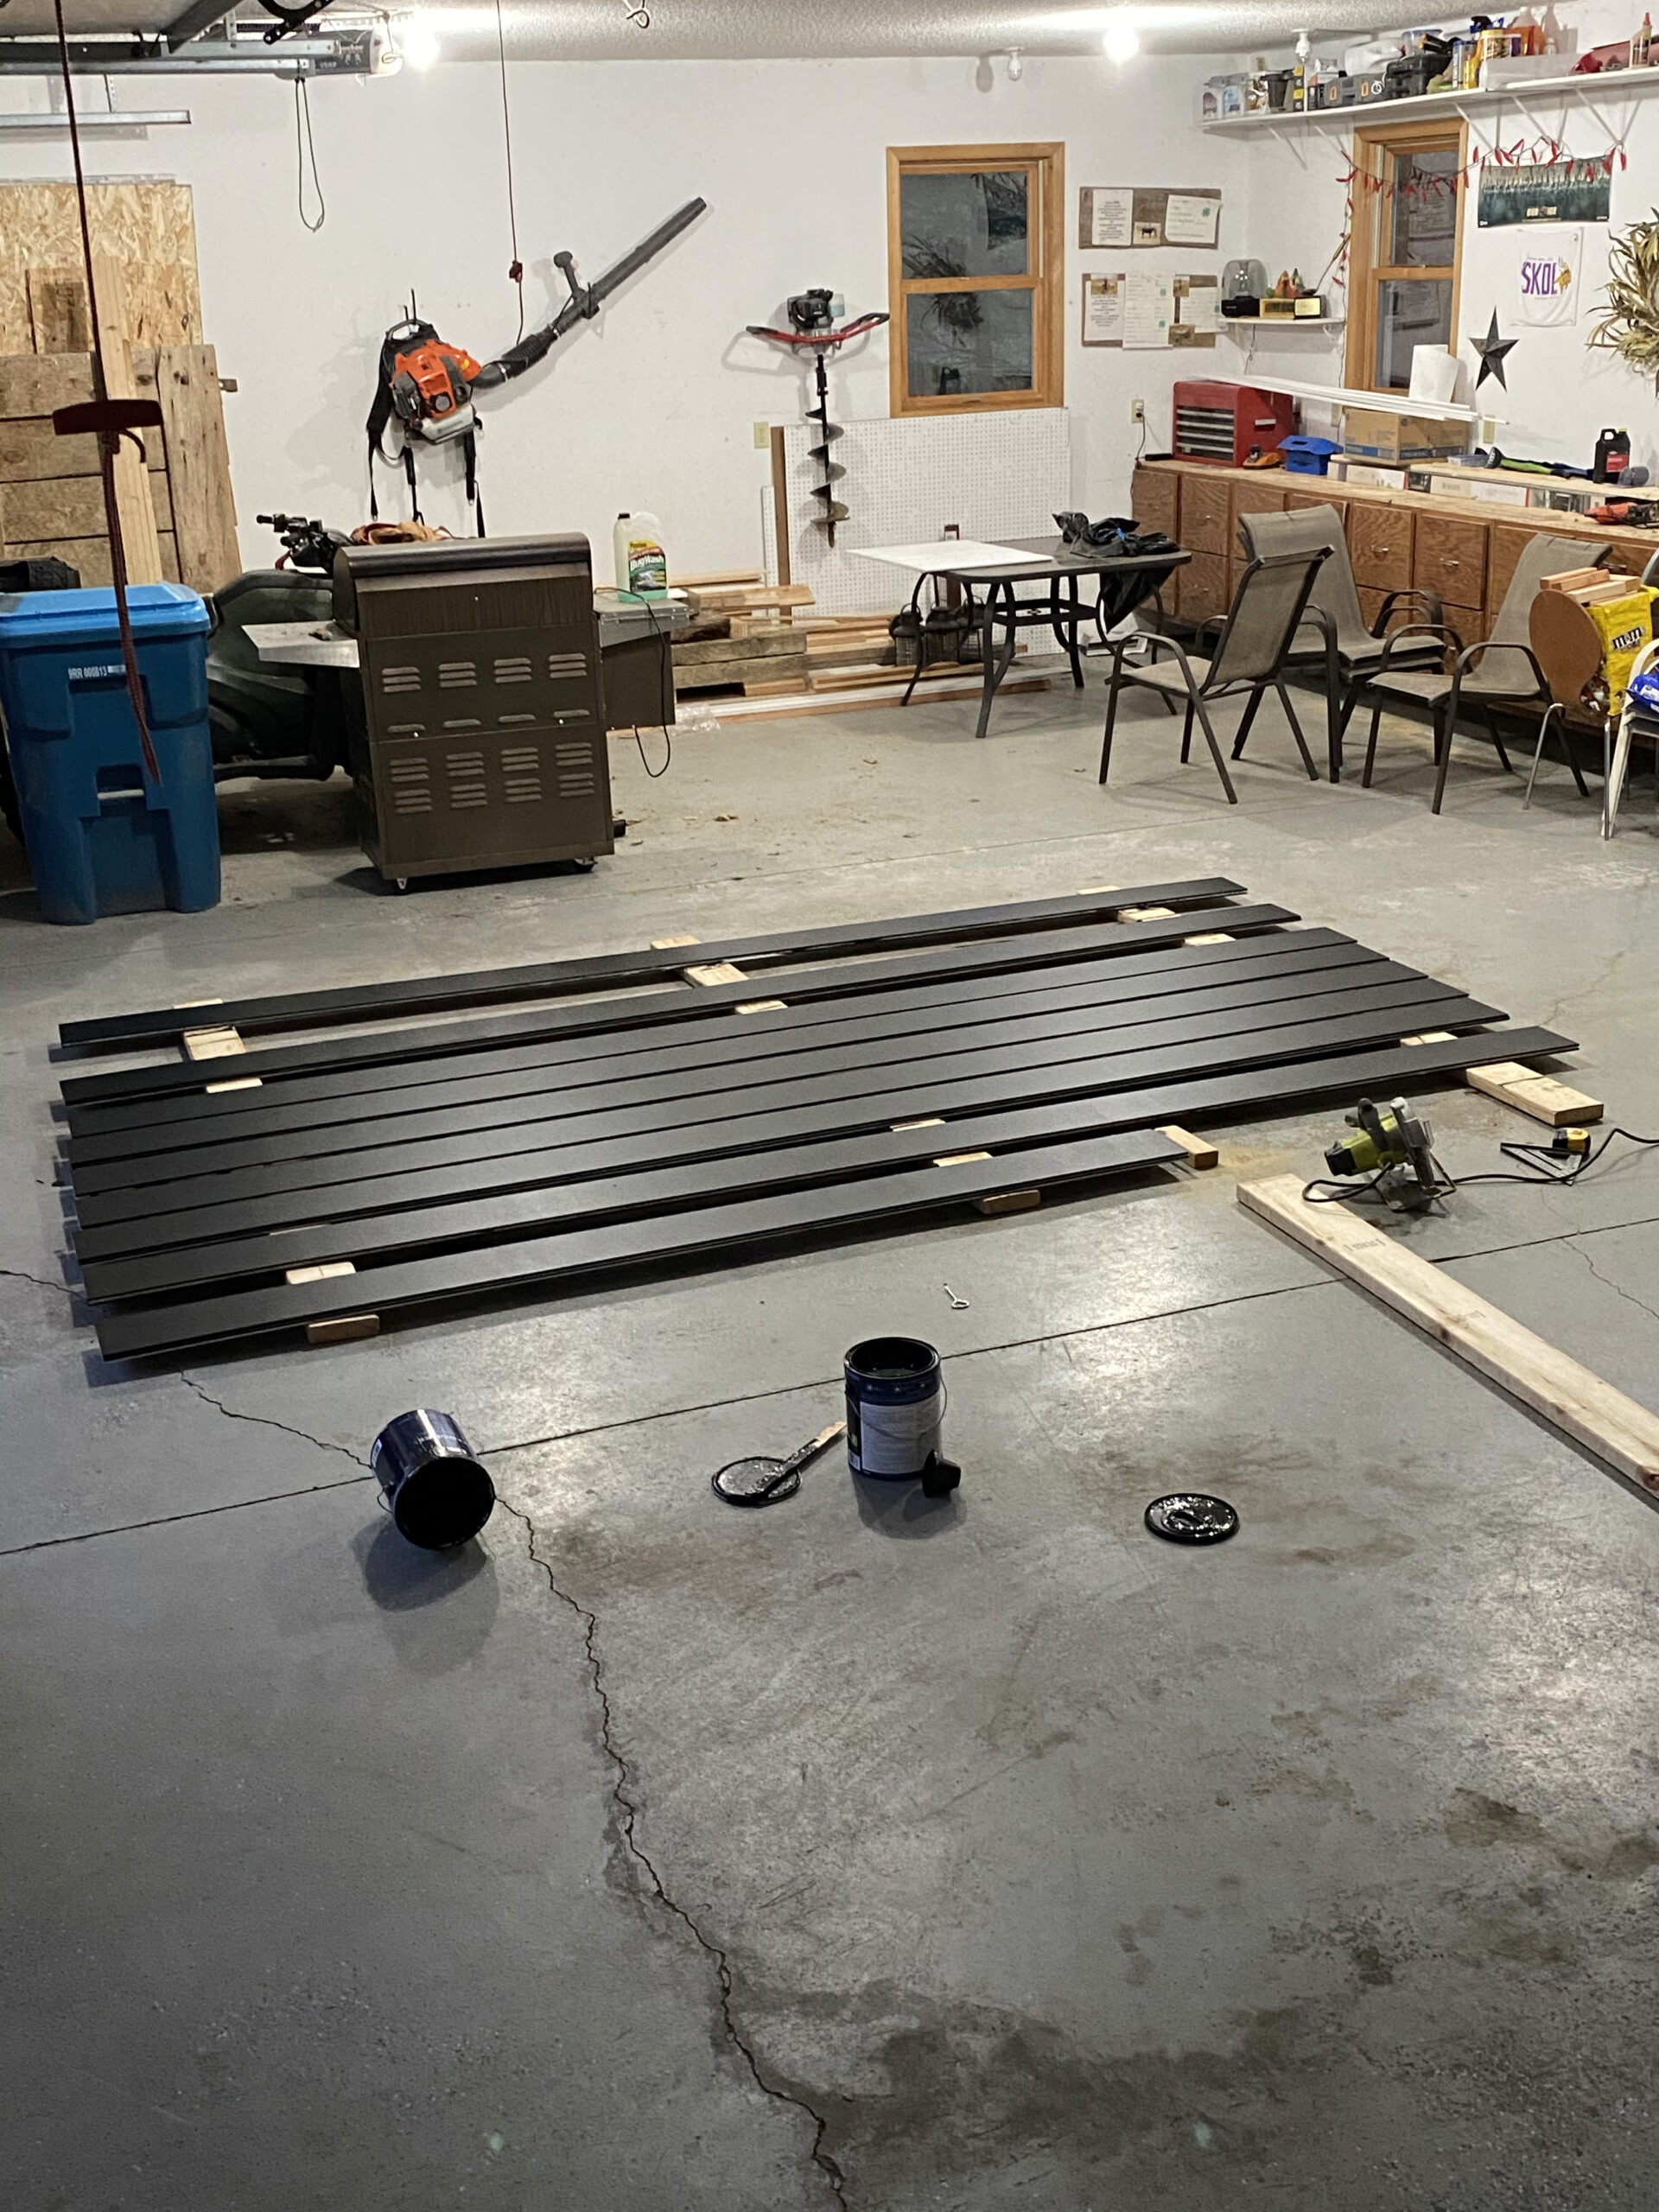
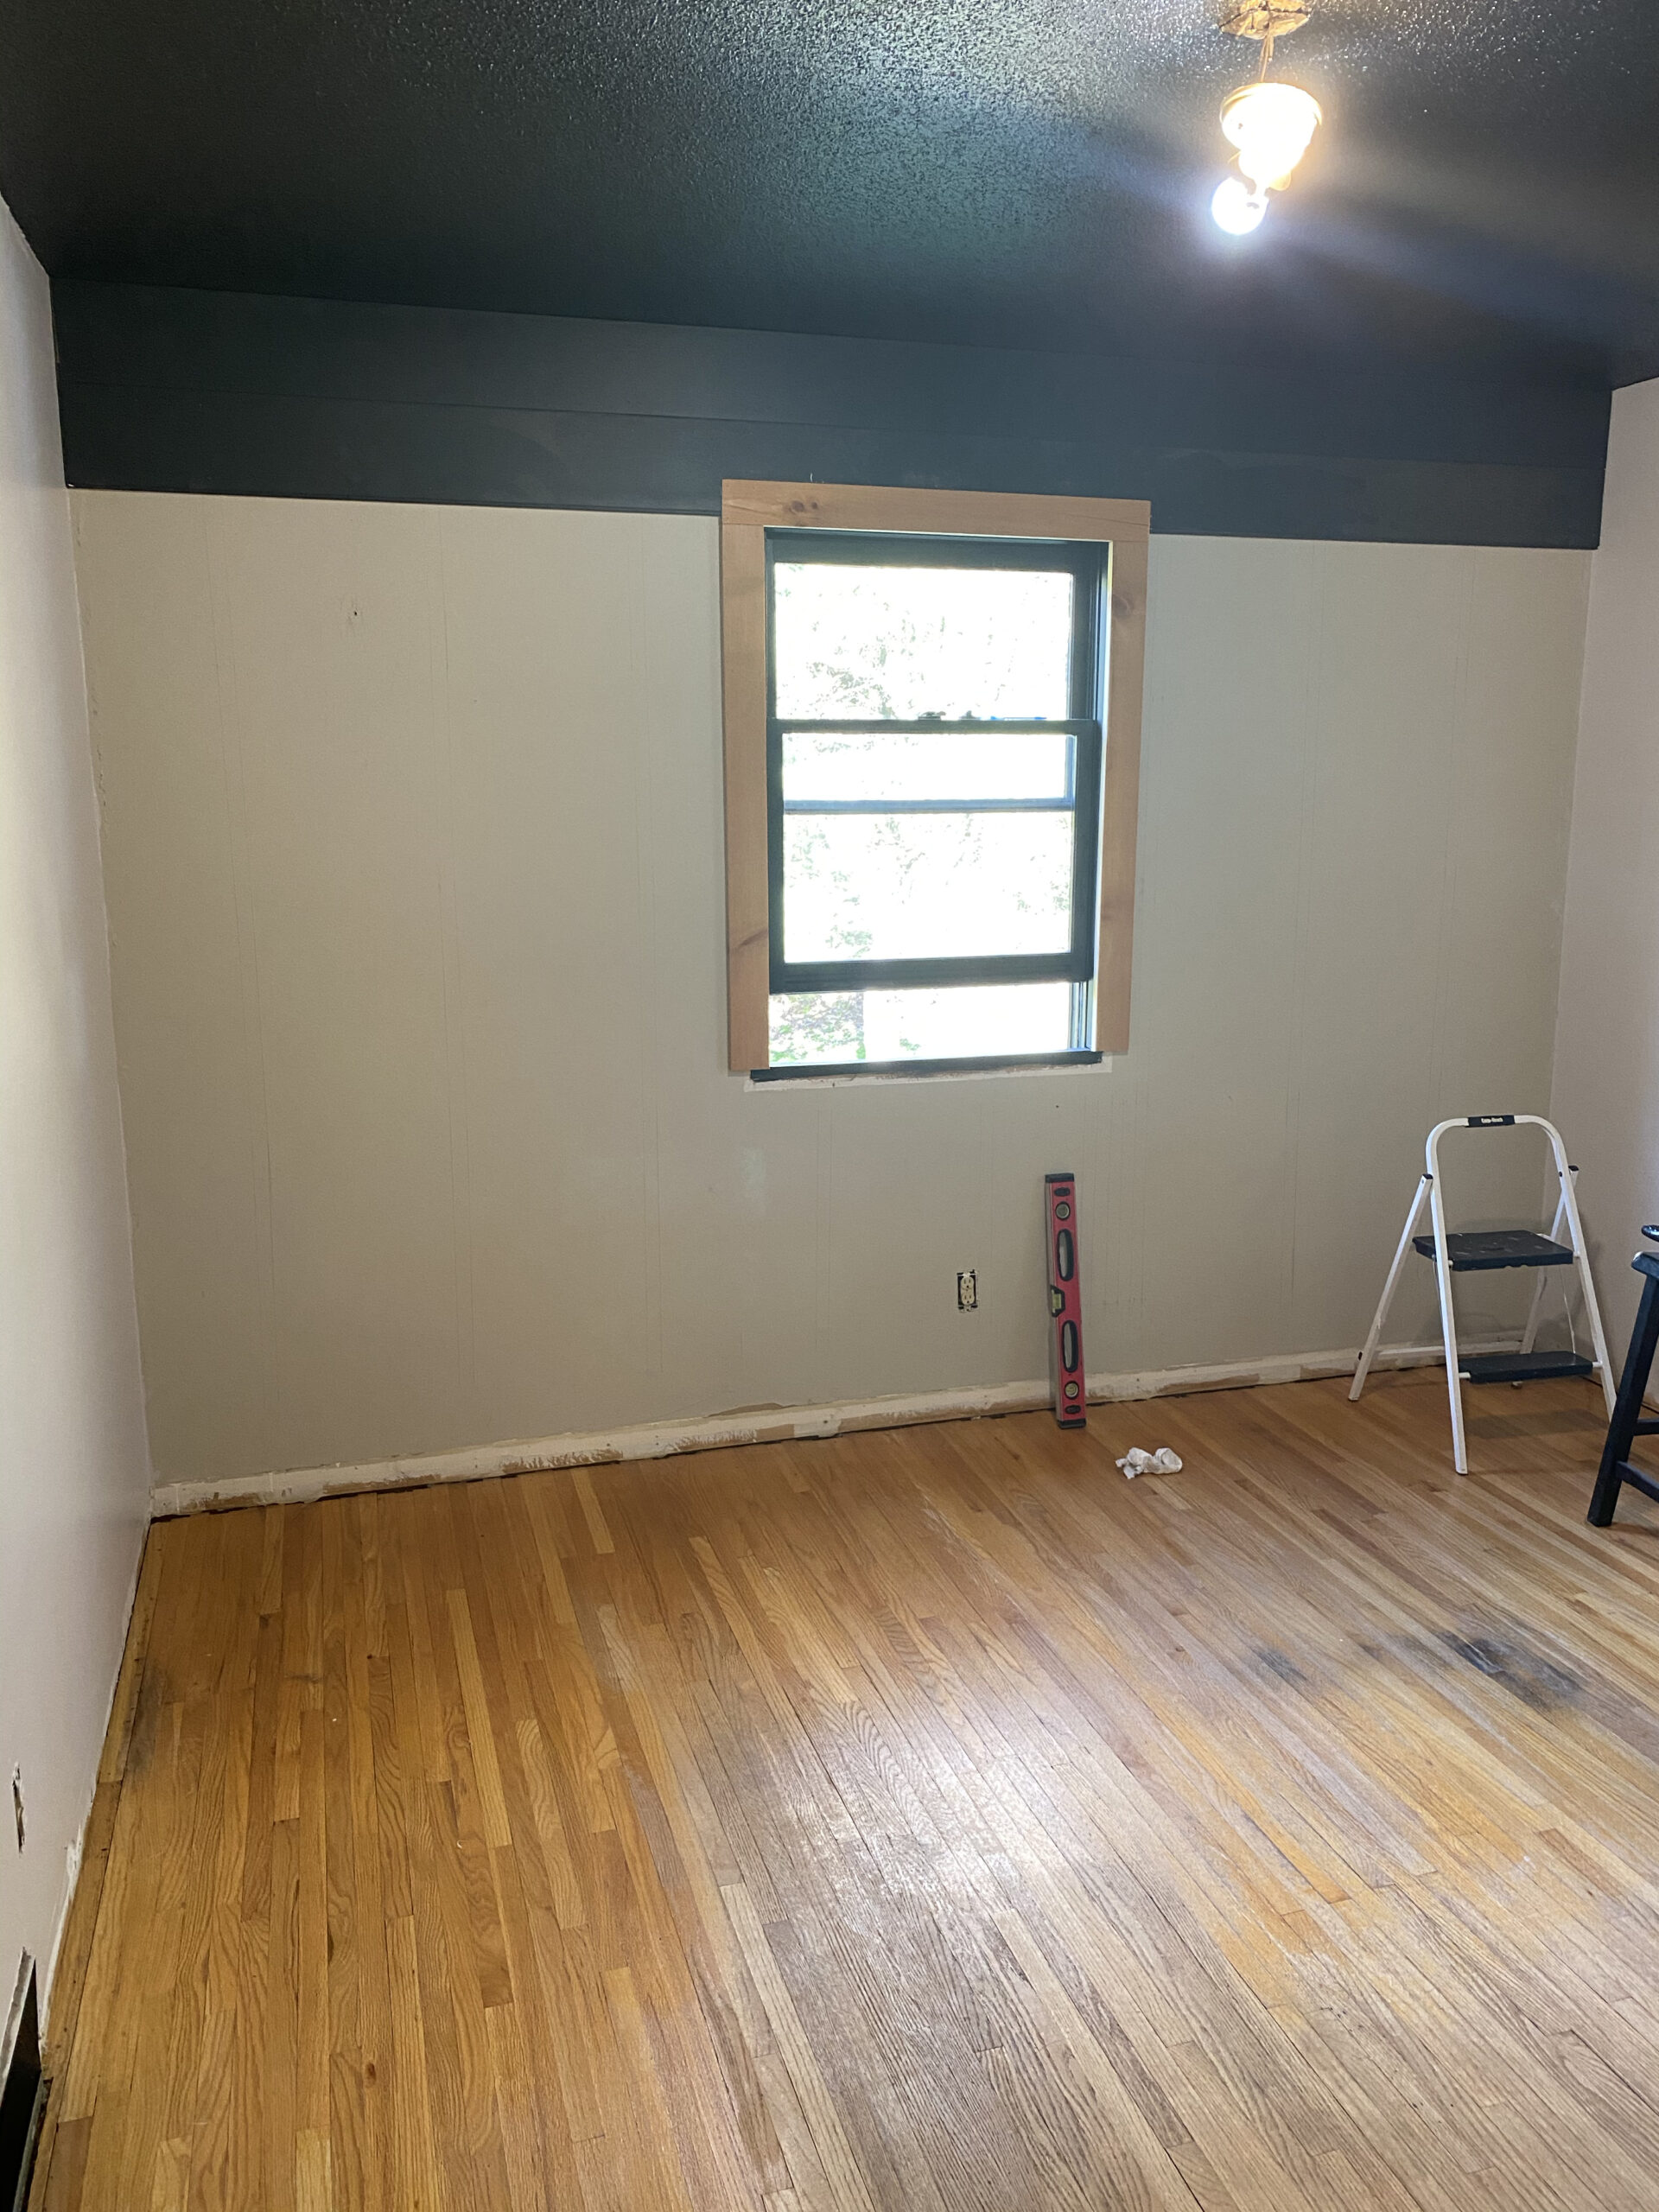
Before I threw the planks up on the wall, I pre-painted the boards in the garage and added trim around the window. Painting the boards before putting them up, makes painting the “nickel gaps” much easier. The trim I installed around the window is a simple butt-joint frame made out of 1″x3″ pine boards. The 1″ thickness of the pine matches the thickness of the shiplap for a smooth overall look.
Luxury Vinyl Plank Flooring
I know … I just uncovered these hardwoods when I removed the carpet. Most renovators would have been tickled to have hardwoods in such great shape. So, why the hell would I put fake wood floors on top of them? Well, to be honest, because I want to!
Stay with me here … Last fall, I converted a garage stall into an entryway that leads into my living and dining rooms. (It’s one of those 90% complete projects that I mentioned a few weeks ago!) The dining room has the same hardwood as this guest bedroom, but the new entryway and living room do not. Because all three rooms run into each other, I wanted them to have one consistent floor. At the time, finishing the entry and living room in matching hardwood was not in my budget, so I chose a beautiful luxury vinyl plank from Flooret for the entire space.
I will admit finding an affordable vinyl floor that I love was not easy. Vinyl flooring has come a long way in the last few years, but I still struggle with the overall look of a lot of it. The durability and waterproof properties of LVP simply cannot be beat, and because of that, they are a great choice for folks like me (pet owners/ entryway project). I just needed to find the right look.
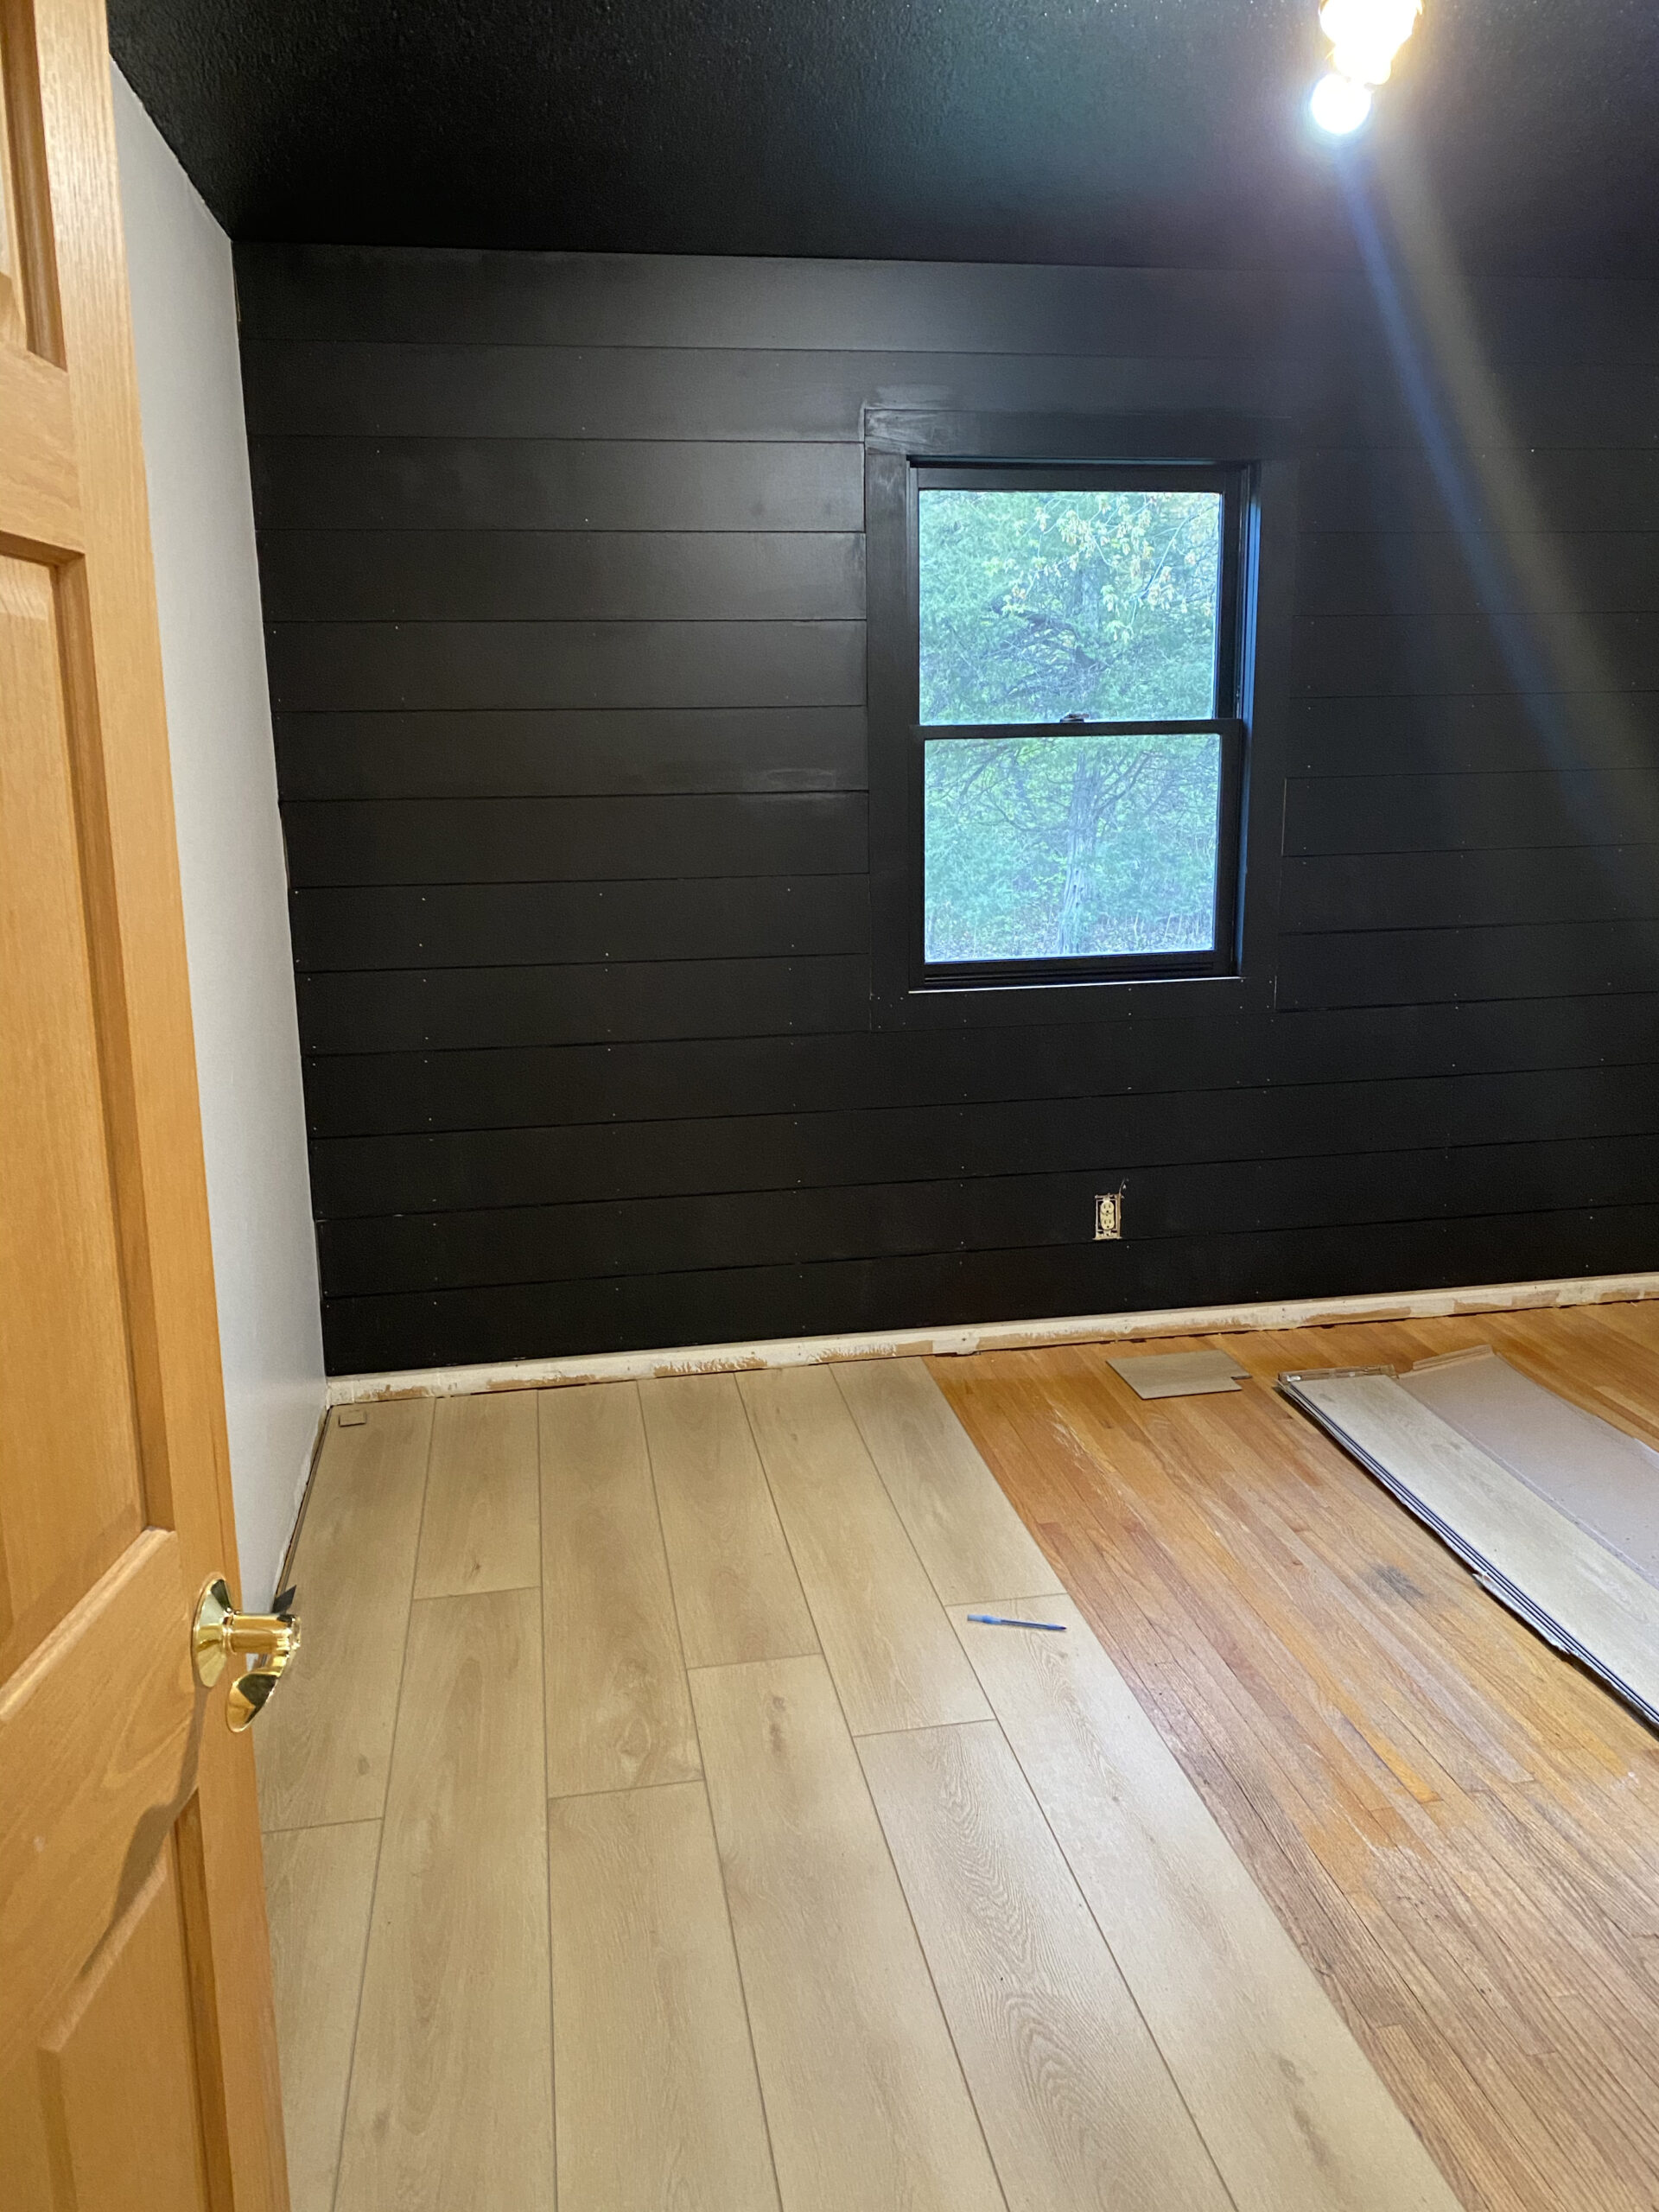
I came across Flooret’s website and fell in love with their Modin Signature Collection before I even received the samples. The Modin Signature Collection stands out with its extra-large planks, enhanced bevels, and industry-leading wear-layer. I love that each plank is 9″ wide and 72″ long. Additionally, the bevels on the edges of the planks emphasize each plank so you can really see where each one begins and ends. They also have several colors/styles to choose from. I knew that I wanted to go with a lighter color for the flooring, so I ordered samples of all their “blonde” options. Soho was my favorite sample, so I ordered a box to see what several full-sized planks looked like before placing my entire order. The full-sized planks exceeded my expectations, so I placed the order and installed them through out my entry, living and dining rooms.
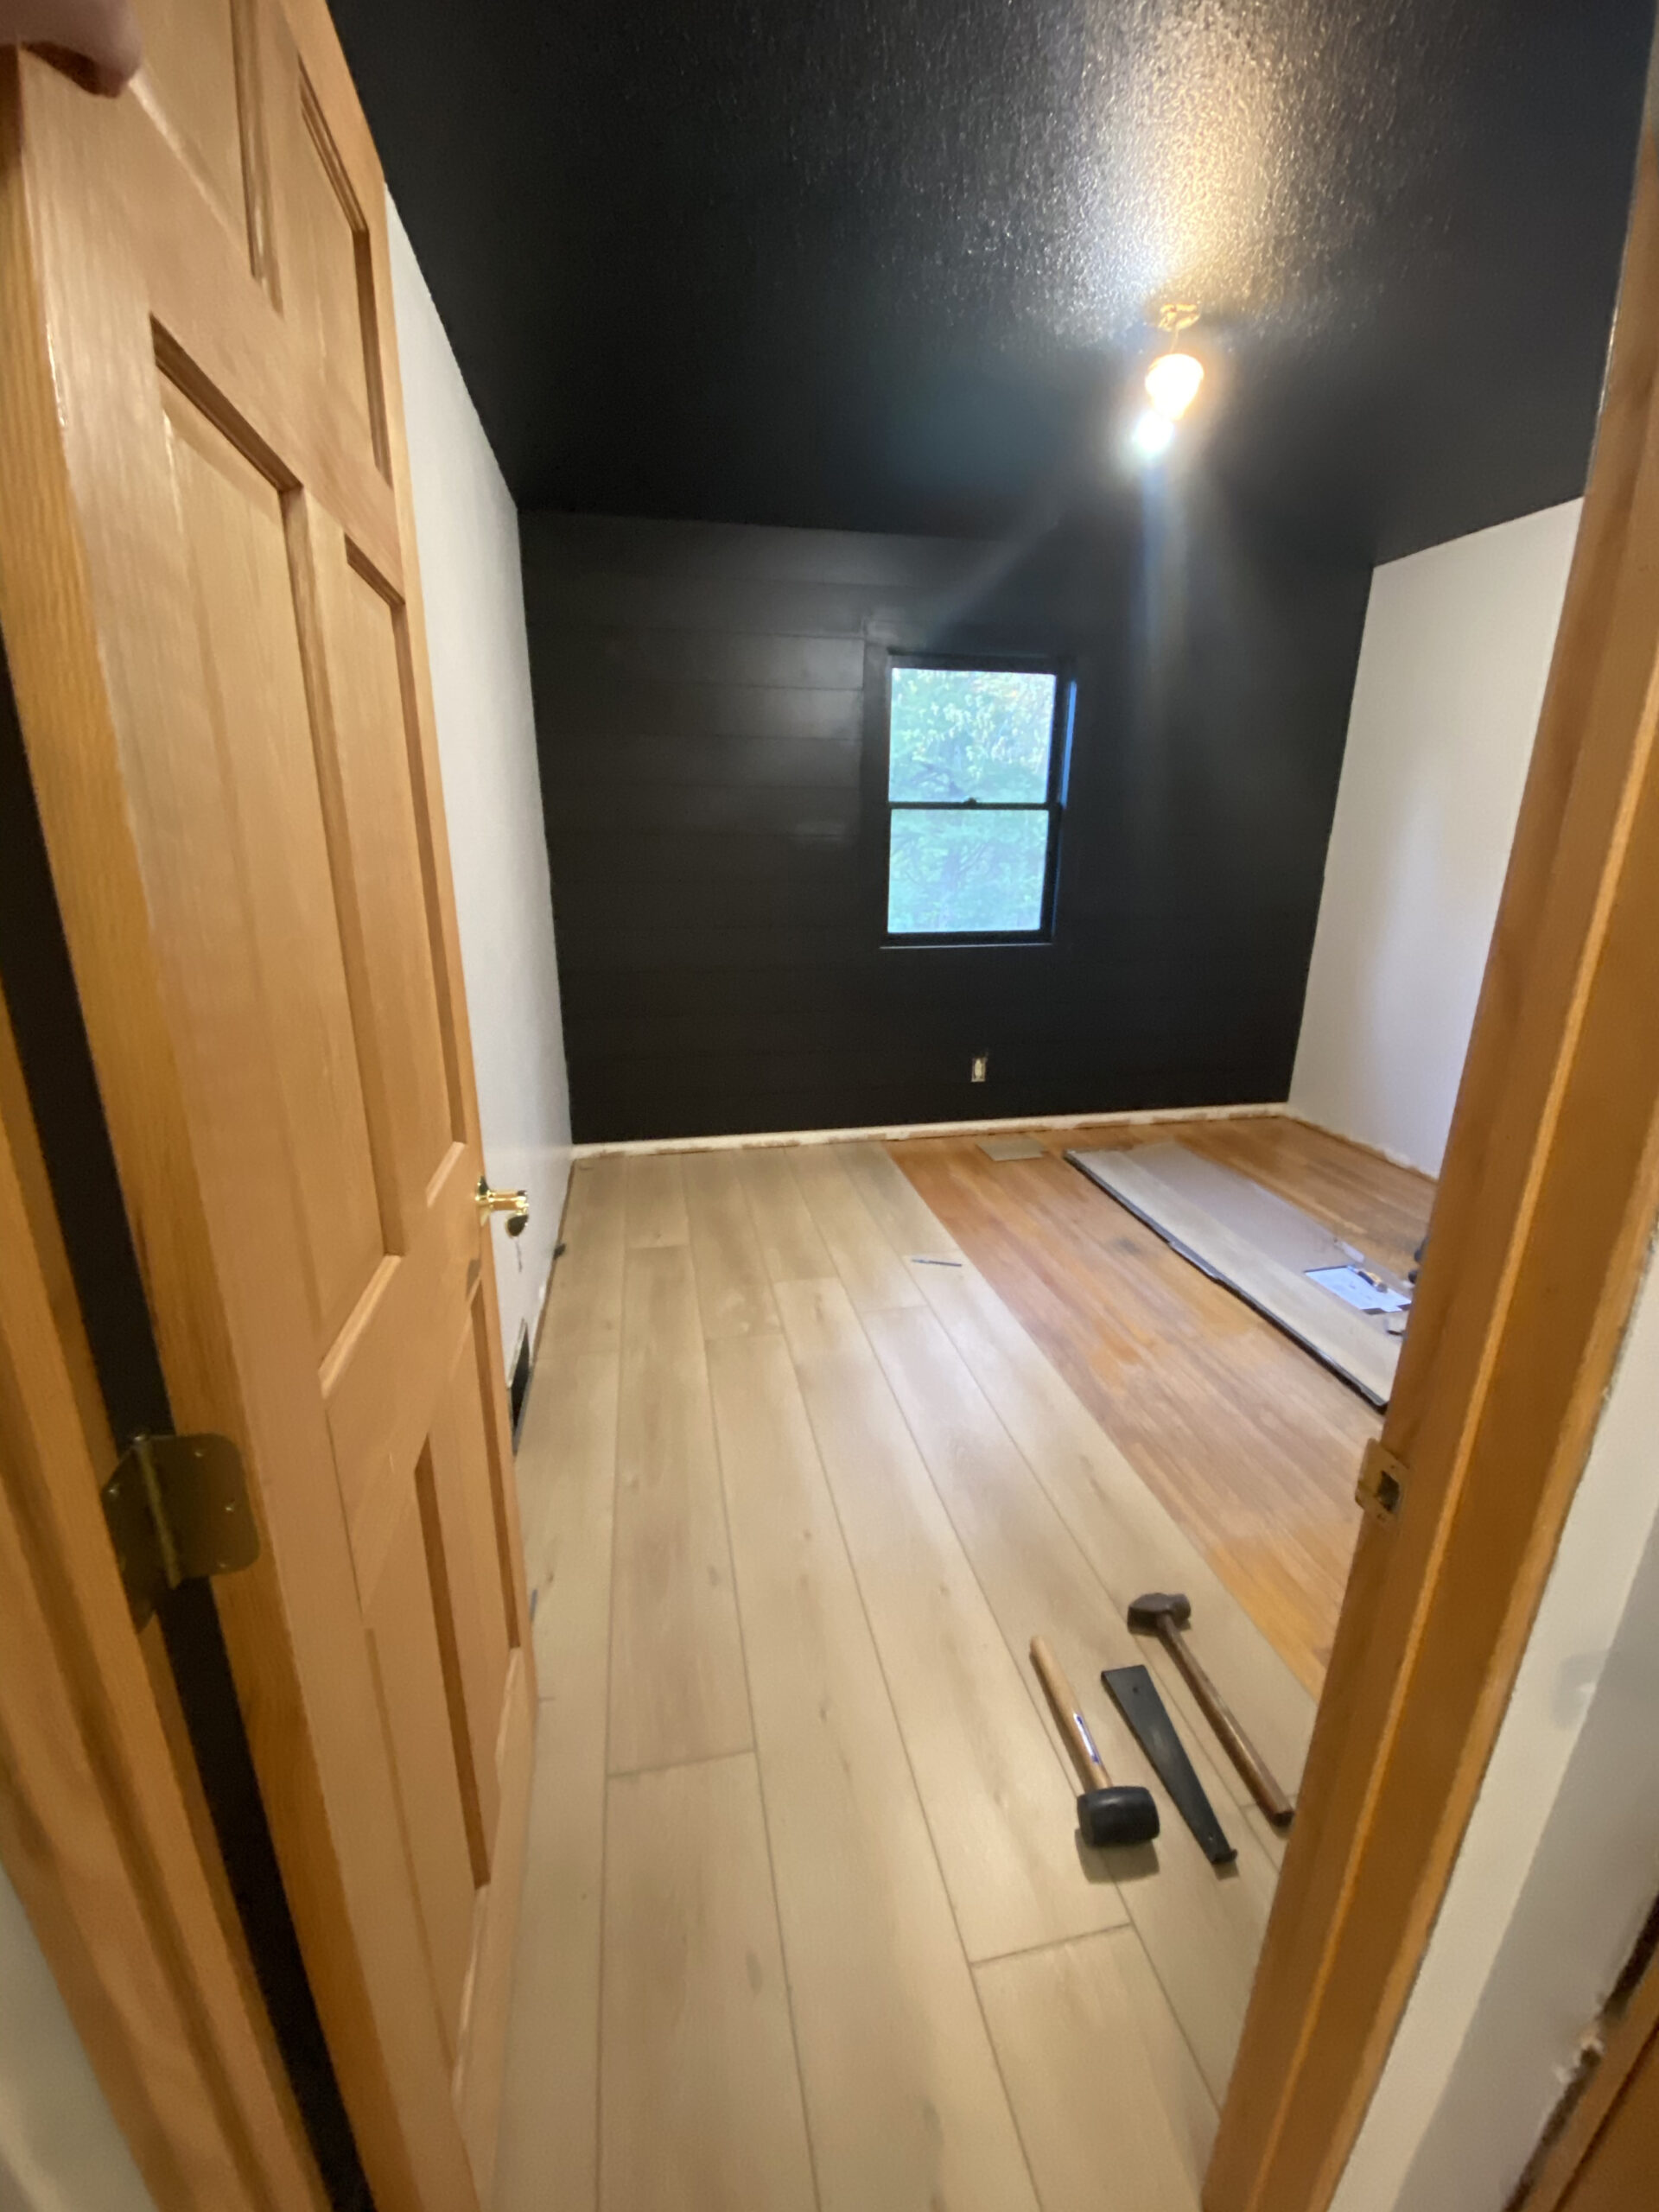
Fast forward to this week, I had five boxes (and some scraps) of the LVP flooring leftover. Using the square footage calculator on the Flooret website, I knew that five boxes would be really close to enough for the guest bedroom, so I went for it … and It was! I used EVERY SINGLE PEICE to finish the room. HA! For real! I cannot believe just how perfect it worked out. I used all five boxes and four of the scrap pieces that I’d kept – and just look at how it turned out! Are you kidding me?! I honestly couldn’t love it more!
Thats a wrap for week 3! Thanks for coming along with me for another week. It was a big one as far as visual progress, but we still got a ways to go! Be sure to come back next week for the halfway-point progress report. It’s going to be electric … literally! I’ll be updating the outlets, switches and light fixture. You’re not going to want to miss it.


